- > Is Path of Exile 2 Worth Playing in 2025?
- > PoE 2 Cast on Shock: A Comprehensive Guide
- > PoE 2 Hyrri's Ire Guide: How to Get the Unique Armoured Vest
- > PoE 2 Carapace Catalyst: Your Ticket to Tankiness
- > Path of Exile 2 Orb of Chance Guide--Your Ticket to Epic Gear (If You're Lucky)
- > POE 2 Rudja, the Dread Engineer - How to Beat, Location, and Rewards
Path of Exile 2 Trial of Sekhemas Guide
Here's a guide to Trials in Exile 2, focusing on Sekhemas Trials, with insights into strategies, relic combinations, and route selection.Introduction to Trials
Both Sekhemas Trials and Chaos Trials are crucial to gaining Ascendancy points for your character. Compared to Chaos Trials, Sekhemas Trials are relatively easier due to the presence of relics and various boons that enhance your character's attributes, thus offering a greater margin for error. Below, I will share my thoughts on how to complete these trials efficiently.Basic mechanics of Sekhemas trials
Each monster you defeat has a chance of dropping Titan Coins.The trial count, indicated by the arrow, shows the number of trial levels and how many Ascendancy points can be gained. For example, a trial count of 1 means one trial and the first Ascendancy point can be earned.
The final room of each trial contains one to four fixed Legendary Bosses. Defeating them gives access to the final trial room, where Ascendancy points are awarded (2 points per stage). Once completed, these points cannot be regained, with a maximum of 8 Ascendancy points per character.
The Relic Altar provides slots for placing relics. Completing a trial level will unlock additional slots, but each slot can only be unlocked once per level.
Relics are key items in Sekhemas trials and are occasionally dropped by monsters. Placing them on the Relic Altar grants powerful effects only within the trial.
Trial UI and key resources
During a trial, you will see the following at the bottom of the screenFame - Any damage taken will reduce your Fame. If it reaches zero, the trial will fail, regardless of your health. Glory essentially acts as a secondary health bar. However, if your character dies with any glory remaining, the attempt will also fail.
The total amount of glory is based on your Health and Energy Shield.
For low level mage builds, glory is based on mana instead.
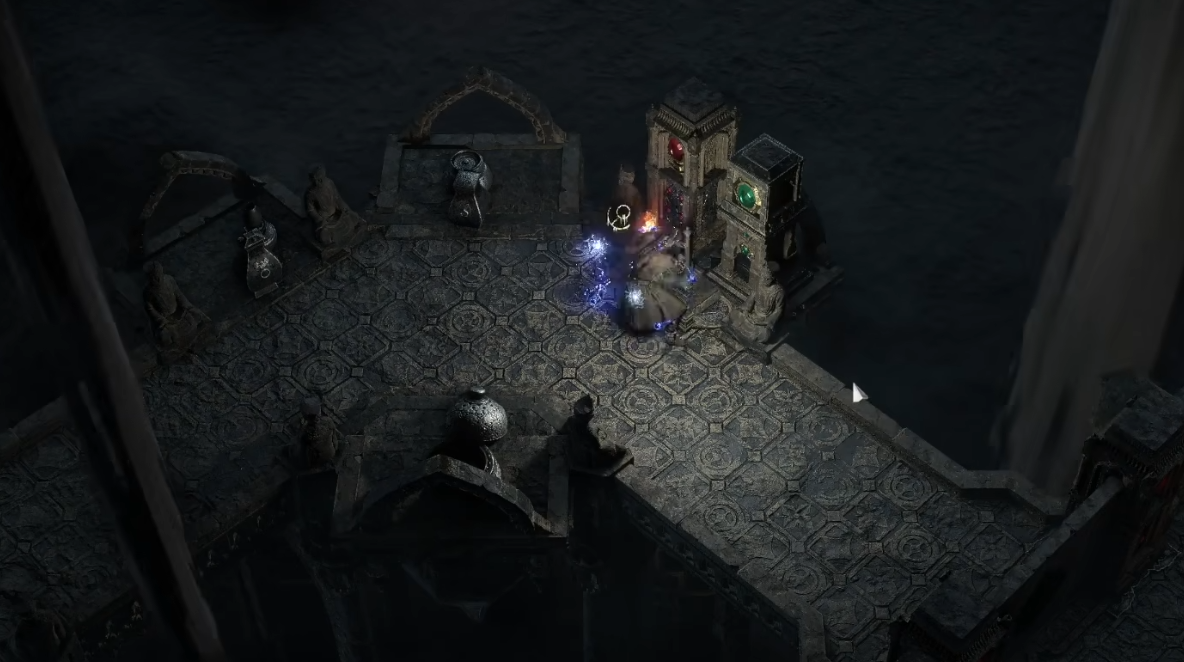
Holy Water - Acts as a currency within the trial. It is used to trade with the trial merchant, Barbara, for various items. Any Holy Water remaining at the end of the trial will be converted into keys to unlock chests.
Boons & Tortures - These mechanics have a significant impact on the outcome of trials:
Boons provide powerful buffs.
Torments inflict harsh debuffs.
Once obtained, boons and torments will last until the end of the trial, unless removed by a contract in a special contract room.
For example, if your trial consists of three stages, any boons or torments gained in stage one will remain until the end of stage three.
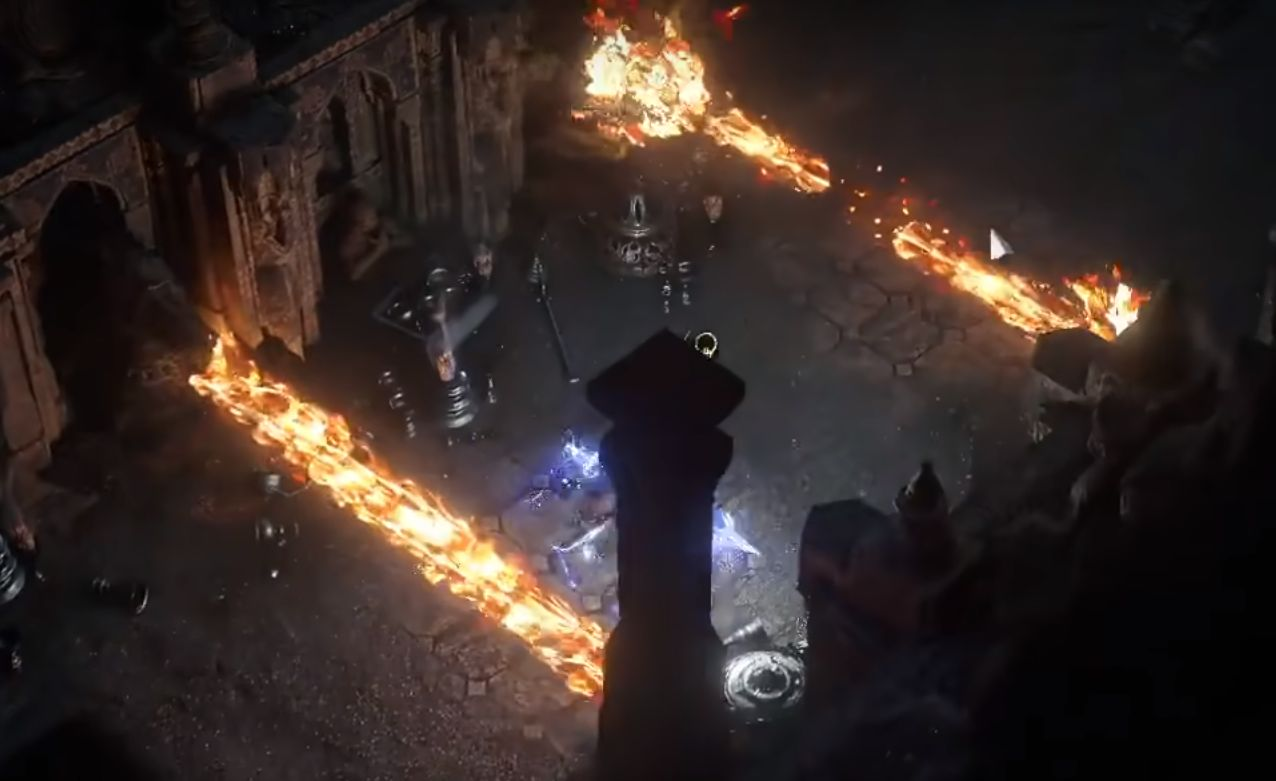
Traps - Aside from land mines and rising boulders, most traps can be avoided by dodging (spacebar).
Trial Strategy & Execution
The first three stages of the Sekhemas Trials are relatively easy. If your character level is at least 10 levels above the recommended level for the trial (displayed on the Titan coins), you should be able to brute-force your way through the first three stages.However, the fourth stage is significantly harder due to Accumulated torments from earlier stages, which can drastically weaken you. The final boss of stage four, which has high HP, complex mechanics, and phase transitions. Ranged builds with movement skills can deal with this more easily. Melee builds without movement skills may struggle even with maximum Glory.
Optimised strategy for Sekhemas trials
Instead of prioritising Glory regeneration and resistance, you can maximise damage output to take out the boss before it can act. Here's how:Choosing the right relics
Prioritise relics with modifiers that increase damage taken by the boss. The more of these modifiers you stack, the faster boss fights will be.Using Holy Water for more blessings
Certain wells offer a chance to double the amount of Holy Water you gain. As Holy Water is used to buy Boons from Barbara, more Holy Water means stronger buffs.Optimal room selection in the early stages
In Stages One and Two, prioritise entering Fountain rooms to stack up Holy Water. Use relics that double the chance of Holy Water to maximise your gains.Spending Holy Water wisely
Barbara will always appear after each final boss fight. Spend Holy Water on Boons that increase your own damage, agility or defensive stats. Also prioritise Boons that weaken monsters (such as reducing their HP, attack speed or movement speed).Mitigating torments
If you are forced to enter a room that applies a torment, choose one that does not affect your key stats. Examples of acceptable torments: Unknown rewards in rooms Losing holy water after completing a room Taking minor physical damage upon room completion Avoid torments that reduce your own damage, defence or glory resistance.Final stages - risk management
After accumulating Holy Water in the early stages, the focus in the later stages should be on avoiding unnecessary risks. Even if a room's rewards are not useful, choose it if it does not impose a torment. This strategy will drastically improve your trial success rate, even if it does not guarantee a clear on the first attempt. Ideally, you should attempt the fourth stage at level 85+ and after comfortably clearing T15 maps.Wrap-up
Sekhemas trials are a great way to gain Ascendancy points, and their difficulty is manageable with proper preparation.Early stages: Focus on maximising Holy Water through wells and strategic relic choices.
Relics: Stack those that increase boss damage.
Boons & Purchases: Prioritise those that increase damage and reduce monster attributes.
Torments: Avoid those that affect damage, defence or glory resistance.
Boss Battles: Rather than tanking, take the boss down before they can act.
By optimising these aspects, you can farm Sekhemas Trials efficiently, increasing your success rate and earning valuable Ascendancy Points.
Recommended Article